So, you're ready to launch a SaaS product. It all boils down to a few core phases: making sure your idea is solid, building a lean first version (your MVP), figuring out how to sell it, and then making sure your first users stick around. The secret sauce? Solving a real, nagging problem and listening intently to what your early customers have to say.
Your Remote SaaS Launch Blueprint
Think of this as your personal launchpad. This guide isn't filled with fluff or abstract theory—it’s a hands-on playbook built from the ground up for remote-first founders like you. We’re going to break down the entire journey, from a spark of an idea to a thriving, location-independent business, into a clear, manageable roadmap.
The timing couldn't be better. The global SaaS market is currently valued at a staggering $317.55 billion and is expected to rocket to $1,228.87 billion by 2032. While North America is the current heavyweight, the Asia Pacific region is catching up fast, growing at a 22% CAGR. This opens up a world of opportunity for founders to build global businesses without the traditional overhead. You can dive deeper into these SaaS statistics and what they mean for newcomers.
Building the Modern Way
As a remote founder, you have a distinct advantage. You're not tied to a single location, which means you can tap into a global talent pool, keep your operational costs impressively low, and design a business that actually fits your life. This playbook is designed to play to those strengths, focusing on lean, efficient strategies that value speed and learning over massive budgets and corporate complexity.
This simple visual captures the essence of our journey: Idea, Build, and Launch.
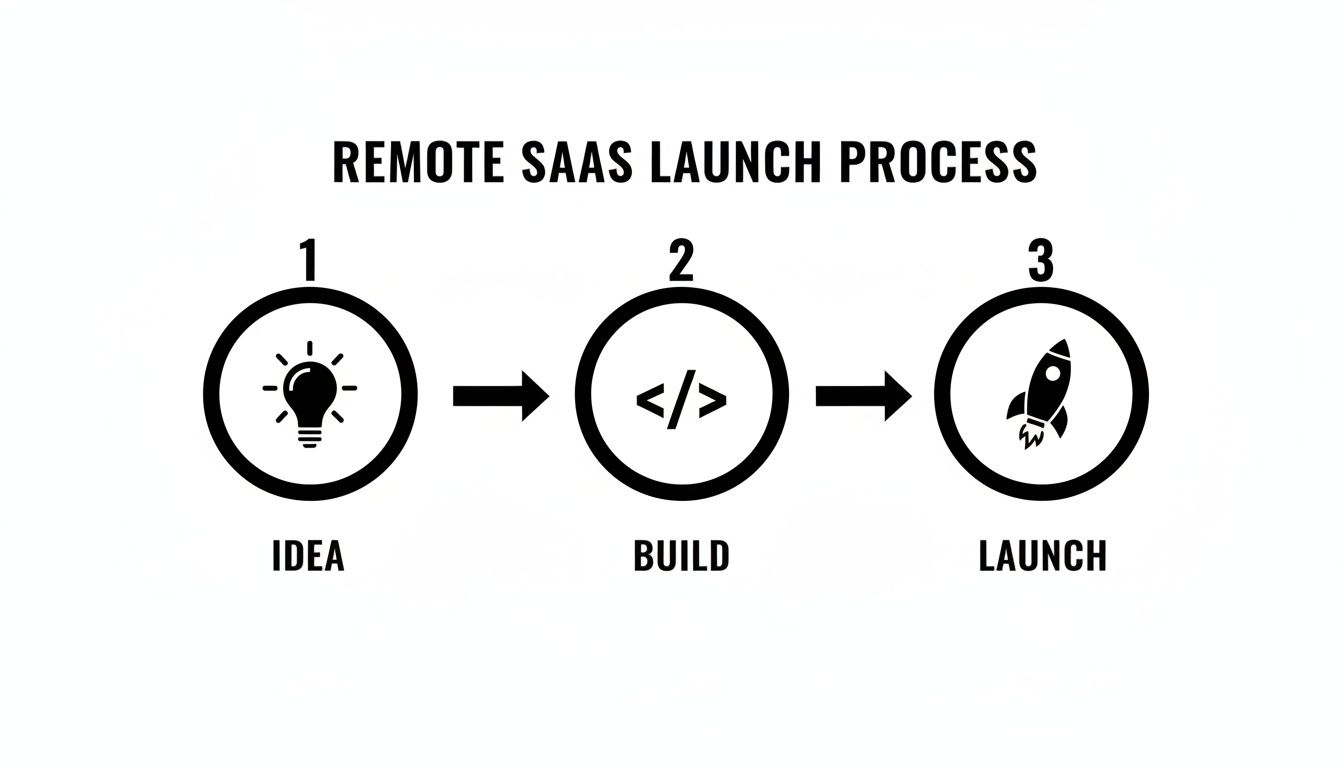
Each step builds on the one before it, making sure you’re building something people will actually pay for before you pour your heart, soul, and savings into it.
The goal isn't to build the perfect, feature-packed product from day one. It's to launch a focused solution that solves a core problem, then use real user feedback to guide your next steps.
To give you a bird's-eye view of what's ahead, here’s a quick breakdown of the entire process.
The Remote SaaS Launch Lifecycle at a Glance
| Launch Phase | Primary Goal | Key Action Items |
|---|---|---|
| Phase 1: Validation | Confirm market demand for your idea. | Conduct customer interviews, analyze competitors, run smoke tests. |
| Phase 2: MVP Development | Build the core solution quickly. | Define scope, choose a lean tech stack, develop essential features. |
| Phase 3: Pre-Launch | Build initial buzz and a waitlist. | Create a landing page, start content marketing, engage on social media. |
| Phase 4: Launch | Acquire your first paying customers. | Announce on launch platforms, run targeted outreach, gather feedback. |
| Phase 5: Post-Launch | Optimize for growth and retention. | Analyze user metrics, iterate on the product, scale marketing efforts. |
This table maps out the path we'll be taking together. It's a proven lifecycle that keeps you focused on what matters most at each stage.
What This Guide Covers
We’re going to walk through every critical stage of your launch, packed with practical advice and examples from the trenches. Here’s a sneak peek at what you'll master:
- Validating Your Idea: Discover remote-friendly tactics to confirm there's a paying market for your solution before you write a single line of code.
- Building Your MVP: Learn how to define and build the smallest possible version of your product that delivers immediate, tangible value.
- Pricing and Go-To-Market: Craft a launch plan and pricing model that attracts your ideal early adopters and sets you up for long-term success.
- Onboarding and Retention: Design a smooth, intuitive user experience that turns fresh sign-ups into active, loyal fans.
By the time you're done, you'll have a clear mental model and the confidence you need to start building your own remote empire. Let's get started.
Finding and Validating Your Big Idea
Every great SaaS company starts by solving a real, nagging problem. Before you even think about writing a single line of code, you have to be absolutely sure you're building a painkiller, not just a nice-to-have vitamin. This validation stage is, without a doubt, the most important part of the entire process—it's where you turn a hunch into something people will actually pay for.
And no, you don't need a massive budget or a fancy market research firm. As a remote founder, you've got a whole arsenal of lean, powerful tools to test your idea without emptying your wallet. The mission here is simple: get cold, hard proof that a specific group of people not only has the problem you think they have but are actively looking for a solution.
Identify a Problem Worth Solving
Let's be honest, the best SaaS ideas usually come from your own life. What tedious tasks, workflow bottlenecks, or frustrating workarounds drive you crazy every day? That little voice in your head that says, "There has to be a better way"? Listen to it.
Imagine a freelance graphic designer who burns hours every single week just pulling together project updates and sending them to clients. It's a repetitive, low-value task that's stealing time from their actual creative work. The problem is specific, painful, and has a real cost in lost billable hours. That's the fertile ground where a great SaaS idea can take root.
Your idea doesn’t need to be some world-changing, revolutionary concept. It just needs to solve a specific problem for a specific group of people better than what they're doing now. The most profitable SaaS businesses are often born from scratching your own itch.
Once you’ve got a problem in mind, nail it down in a single, clear sentence. For our designer, that might sound like: "Freelancers struggle to keep clients in the loop on project progress without wasting hours on manual emails and reports." This simple statement becomes your north star, guiding every decision you make from here on out.
Define Your Ideal Customer Profile
You can't build for everyone. Trying to is the fastest way to build a product that no one truly loves. Instead, you need to get hyper-focused on your Ideal Customer Profile (ICP). This is a super-detailed picture of the exact person who will get the most value from your product—and who is most likely to pull out their credit card.
An ICP is way more than just demographics. You need to get inside their head.
- Job Role: What’s their title? (e.g., Freelance Graphic Designer, Solo Marketing Consultant)
- Pain Points: What specifically frustrates them about this problem? (e.g., "I waste 5+ hours a week on non-billable client comms.")
- Goals: What are they ultimately trying to accomplish? (e.g., "I need to increase my billable hours and keep my clients happy.")
- Watering Holes: Where do they hang out online? (e.g., Dribbble, specific Slack communities, LinkedIn groups for creatives.)
Knowing your ICP this well helps you find them, talk to them in their own language, and build a solution that feels like it was tailor-made for them.
Run Low-Cost Validation Experiments
Okay, it's showtime. Time to see if your hypothesis holds up in the real world. Your goal is to gather concrete evidence of demand, and as a remote founder, you can do all of this from your laptop.
First, the Landing Page "Smoke Test": Whip up a simple one-page website that screams your value proposition. Use a tool like Carrd or Webflow to do it fast. You need a killer headline, a quick rundown of the benefits, and a clear call-to-action to sign up for a waitlist or get "early access."
Next, Drive Some Targeted Traffic: Run a small, focused ad campaign on a platform where your ICP lives, like LinkedIn or Facebook. You can get started with a budget as small as $100-$200. You're not just looking for clicks; you're watching the conversion rate of visitors who actually sign up. If you're hitting a 5-10% sign-up rate, that's a fantastic signal.
Finally, Conduct User Interviews: Reach out to people who fit your ICP. Find them in those online communities you identified earlier or through your own network. Offer a coffee gift card for 30 minutes of their time over a video call. The key here is not to pitch your idea. Instead, ask open-ended questions about their current workflow and the pains they experience. This qualitative feedback is pure gold.
Following these steps takes your idea from a gut feeling to a data-backed concept. If your smoke test gets sign-ups and your interviews confirm the pain is real, you’ve got a green light. If not? You just saved yourself months of wasted time and can pivot to the next idea, smarter than before.
Building Your First Product the Lean Way
Alright, you've validated your idea. Now comes the fun part: building the actual product. This is also where a lot of founders, especially first-timers, go off the rails. They disappear for six months and burn through cash chasing a "perfect" V1, only to launch to the sound of crickets.
The best way to sidestep that all-too-common fate is to fully embrace the Minimum Viable Product (MVP).
An MVP isn't a buggy or incomplete product. Think of it as the simplest, most focused version of your solution that solves one core problem for your ideal customer. That’s it. Its only job is to help you learn. You build an MVP to get it into the hands of real people as fast as humanly possible, so you can see if you're actually onto something.
For instance, if you're building a new project management tool, the MVP wouldn't have Gantt charts, complex reporting, or integrations. It might just be a dead-simple, shared to-do list that helps a small team stop dropping the ball on tasks. Everything else can, and should, wait.
How to Ruthlessly Prioritize Your MVP Features
Feature creep is the silent killer of launch dates. To stay lean, you need a system for deciding what makes the cut. I'm a big fan of the MoSCoW method because it’s simple but forces you to be brutally honest. You'll sort every potential feature into one of four buckets:
- Must-Have: These are the absolute, non-negotiable essentials. Without them, the product is fundamentally broken. For a social media scheduler, this is literally just connecting an account and scheduling a post.
- Should-Have: Important, for sure, but not critical for day one. These add a ton of value, but you can live without them for the first version. Think post analytics or a basic media library.
- Could-Have: These are the "nice-to-have" ideas. They're cool, but their impact on solving the core problem is minimal. Giphy integration or a dark mode would fit perfectly here.
- Won't-Have (this time): Explicitly decide what you're not building. Writing it down prevents those "what if we just add…" conversations from derailing your sprint.
Running your feature list through this framework is your best defense against building a bloated product nobody asked for.
The goal of your MVP is maximum learning for minimum effort. Every single feature must earn its place by being absolutely critical to solving the user's primary problem. If it's not, it gets cut. No exceptions.
This kind of discipline is what gets you to launch faster. The sooner real users are in your product, the sooner you can stop guessing and start building what they actually need.
Choosing Your Tech Stack Wisely
As a remote founder, your tech stack directly impacts your speed, budget, and ability to pivot. You really have two main paths: no-code or custom code. Neither is better than the other; the right choice is all about your product's complexity and your own skillset.
No-code platforms like Bubble or Softr are game-changers. They allow you to build surprisingly powerful, data-driven web apps without writing a line of code. They’re fantastic for non-technical founders or for any founder who wants to test an idea in weeks, not months.
On the other hand, custom development gives you complete freedom and control, but it costs more and takes longer. You'll either need to be a developer yourself or bring in freelance talent. This is the right path when your product has unique, complex features that no-code tools just can't handle.
Here’s a quick breakdown to help you decide:
| Factor | No-Code/Low-Code | Custom Development |
|---|---|---|
| Speed to Launch | Very Fast (Weeks) | Slower (Months) |
| Initial Cost | Low (Monthly Subscriptions) | High (Developer Salaries/Rates) |
| Scalability | Good for early stages, may hit limits | Highly scalable, built for growth |
| Flexibility | Limited by the platform's features | Unlimited, completely custom |
| Best For | Validating ideas, simple apps, internal tools | Complex products, long-term platforms |
A very common (and smart) playbook is to start with a no-code MVP. Use it to get your first paying customers and prove the business model. Once you have revenue and validation, you can reinvest that into building a more robust, custom-coded V2. This takes a massive amount of risk off the table.
Defining Your MVP Scope
Before you or anyone else writes a single line of code or drags a single element on a no-code canvas, get your scope on paper. This isn’t some 50-page technical spec; it's a simple, one-page document that provides absolute clarity.
- Core Problem Statement: Write down the single problem you're solving in one sentence.
- Target User: Who is this for? A quick, one-paragraph description of your ideal customer.
- Key User Journey: What is the single most important path a user will take? Map it out. For example: User signs up -> connects their social account -> schedules their first post -> sees a confirmation.
- Feature List (MoSCoW): List your features, categorized. Only the "Must-Haves" are in scope. Period.
- Success Metric: How will you know if this is working? Define the one number that matters. It could be something like, "100 users schedule at least one post in their first week."
With this document, you have a blueprint. You know exactly what to build, who you're building it for, and how you’ll measure success. This laser focus is your superpower. It's what lets you ship a product while others are still stuck in meetings.
Time to Plan Your Launch and Nail Down Your Pricing
You've built a fantastic product, but a brilliant product without a solid launch plan is just a well-kept secret. With your MVP ready to go, the next step is figuring out your Go-To-Market (GTM) strategy. For a remote founder bootstrapping or working with a lean budget, this isn't about dropping thousands on ad campaigns. It's about being smart, targeted, and building real momentum from the ground up.
Your first play? Build a pre-launch waitlist. This is so much more than just collecting email addresses—it's your first community, your core group of early believers, and your best source of raw, honest feedback. Get a simple landing page up that nails the problem you solve and gives people a killer reason to sign up for early access.

Building That Pre-Launch Buzz
Okay, your landing page is live. Now you've got to get eyeballs on it. Forget casting a wide, expensive net. Instead, find the digital "watering holes" where your ideal customers are already spending their time.
- Dive into Niche Online Communities: Find the right Slack channels, Discord servers, and subreddits where your target audience hangs out and asks for help. The key here is not to just spam your link—that's a quick way to get banned. Become a genuine, helpful member of the community. Answer questions, offer advice, and only mention your tool when it's a natural fit for a problem being discussed.
- Share Your Journey on Social: For B2B SaaS, LinkedIn and X (what we all still call Twitter) are goldmines. Don't just post marketing fluff. Share your story—the wins, the bugs, the late-night coding sessions, and the lessons you're learning. This "build in public" approach creates a story people can connect with and root for.
- Treat Your First Sign-ups Like Gold: Those first people on your waitlist are your VIPs. Send them personal emails. Ask for their feedback on your mockups. Make them feel like they're co-creating this thing with you. These are the folks who will become your very first evangelists.
I see so many founders make the mistake of waiting until launch day to start marketing. Your marketing should start the day you start building. By nurturing a small, engaged audience beforehand, you guarantee you're launching to someone, not just shouting into an empty void.
This early buzz is your chance to make sure your messaging actually lands with people before you go all-in on the launch.
How to Price Your SaaS Without Losing Sleep
And now we get to the part that keeps most founders up at night: pricing. It feels like a mix of dark arts and data science, but you can approach it logically. Look, you're not going to get it perfect on day one—nobody does. The goal is to start with a model that feels fair and aligns with the value you deliver.
A good pricing model should be dead simple for customers to understand and should scale up as they get more and more value from your product. This builds a natural growth path for your revenue without you having to constantly have awkward conversations about price hikes.
Let's walk through the most common models.
- Tiered Pricing: This is the classic you see everywhere. You create a few distinct packages (think: Basic, Pro, Enterprise) with more features and higher price points as you go up. It works so well because it speaks to different types of customers and shows them a clear path to upgrade.
- Usage-Based Pricing: With this model, customers pay based on how much they use a key part of your product—maybe it's the number of API calls, contacts in their database, or gigabytes of data processed. It's incredibly fair because the cost is tied directly to the value they're getting.
- Per-User Pricing: Simple, predictable, and easy to understand. You charge a flat fee for every person on a team who uses the software. This is a great fit for collaboration tools where every new seat adds more value to the whole team.
So, how do you choose? It all comes down to your product's core value metric. What's the one thing users get more of as they find more success with your tool? Anchor your entire pricing strategy to that.
Packaging Your Features into Tiers People Actually Want
If you decide to go with a tiered model, how you bundle your features is absolutely crucial. Don't just sprinkle features across plans at random. Your tiers should tell a story, guiding a user from where they are today to where they want to be tomorrow.
I've found it helpful to think about tiers in terms of customer personas.
- The "Starter" Tier: This is for the solo founder or tiny team just dipping their toes in the water. It needs to have all the core features to solve their primary problem, but you can cap usage or hold back some of the advanced stuff. The goal here is simple: adoption.
- The "Pro" Tier: You're aiming this one squarely at your ideal customer—the growing business that needs more horsepower. This tier should be packed with features that boost efficiency and deliver a bigger ROI. This often ends up being your most popular plan.
- The "Enterprise" Tier: This is for the big players. They need advanced security, dedicated support, and custom integrations. You'll almost always see this as a "Contact Us" plan because their needs are too unique for a one-size-fits-all price tag.
When you're designing your pricing page, don't forget the little psychological nudges. Highlighting a "Most Popular" plan can steer decisions, and offering a 20-25% discount for annual payment is a powerful way to lock in commitment and boost your cash flow.
Just remember, your pricing is never set in stone. Think of it as a hypothesis. You'll test it, learn from your customers, and tweak it as you get a better handle on the real value they're getting from your product.
Mastering Onboarding to Drive Early Adoption
Your product is live. The first sign-ups are trickling in. Congratulations! But don't pop the champagne just yet. The real work of building a successful SaaS has just begun.
Launch day is the starting line, not the finish. The race is won by turning those curious first-time users into deeply engaged customers who can't imagine their workflow without you. And that all comes down to mastering user onboarding.
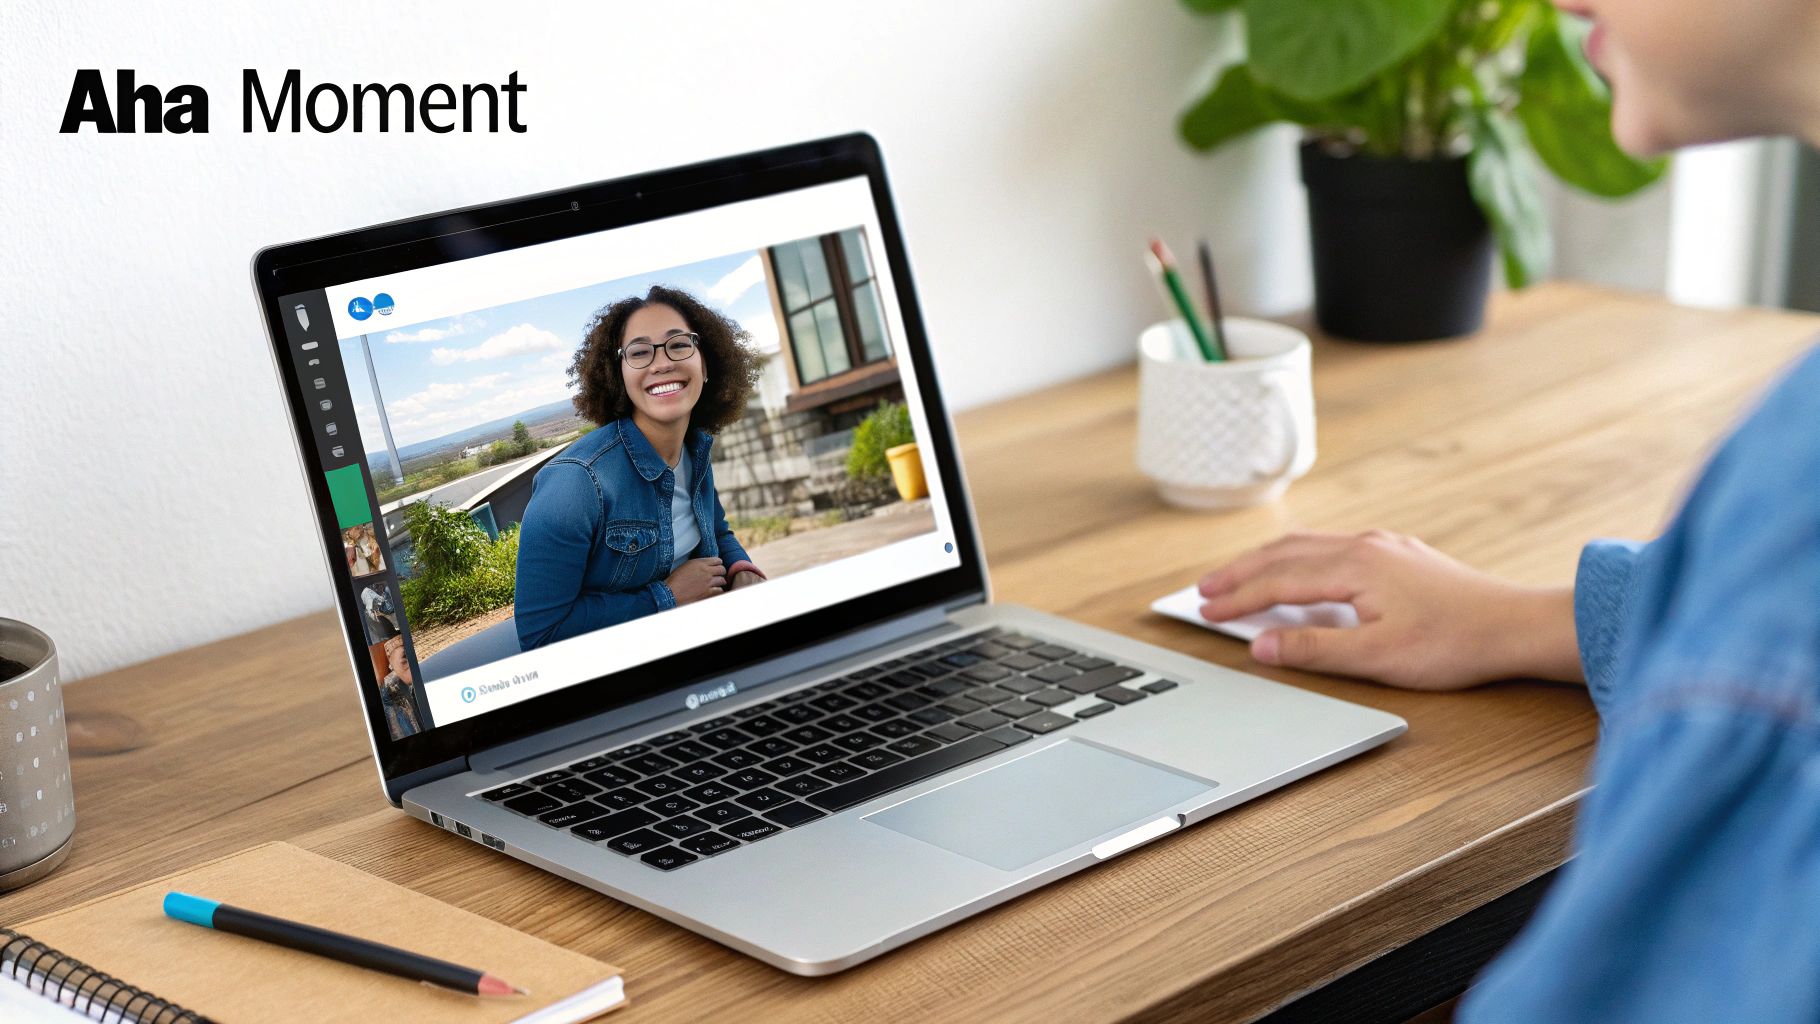
Your one and only goal here is to get every new user to their "aha!" moment as fast as humanly possible. This is that magical instant when they really get the value of your product and see how it solves their problem. A clunky, confusing, or overwhelming first experience is the fastest way to lose them for good.
Designing a Frictionless First-Run Experience
The moment a user logs in for the first time is your single best shot to make a great impression. Don't just dump them into a blank, empty dashboard and hope for the best. Your mission is to hold their hand just enough to lead them to that first small win.
Think about implementing a simple, interactive in-app guided tour. Tools like Appcues or UserGuiding can help you create tooltips and modals that point out key features without being annoying. For example, if you've built a social media scheduler, the tour should walk them through exactly three steps: connect an account, write a post, and schedule it. That’s it.
Your onboarding isn't a comprehensive user manual; it's a guided path to a single, valuable outcome. Focus on getting the user to complete one key action that delivers immediate value. Everything else can be discovered later.
Another powerful trick is to use "empty states" intelligently. Instead of showing a blank project list, your screen could say, "Create Your First Project!" with a big, obvious button and a short sentence explaining what a project even is. This turns a potentially confusing void into a clear, actionable starting point.
Your Welcome Email Is More Than Just a Greeting
A user's experience doesn't just happen inside your app. A thoughtful welcome email sequence is a vital part of your onboarding toolkit, helping you stay top-of-mind and pull users back into the product.
Your email strategy should be designed to educate and motivate.
- The Welcome Email (Sent Immediately): This needs to confirm their sign-up and give them one clear call-to-action—the very first step they need to take to get value.
- The "Did You Know?" Email (Day 2): Highlight a single, powerful feature they might have missed. Make sure you link directly to that part of your app.
- The Case Study Email (Day 4): Share a quick success story of how another customer solved a problem using your tool. This builds social proof and helps them picture their own success.
- The "Need Help?" Email (Day 7): Offer a personal touch. A simple email from you, the founder, asking if they have any questions can work wonders.
This sequence keeps the conversation going and gives you multiple chances to re-engage users who might have gotten distracted.
Tracking the Metrics That Actually Matter
If you want to improve your onboarding, you have to measure it. Forget vanity metrics like total sign-ups. From day one, you should be laser-focused on a few key performance indicators (KPIs) that tell you how well you're turning sign-ups into active users.
- Activation Rate: What percentage of new users complete that key "aha!" action within their first week? This is your single most important onboarding metric.
- Time to Value (TTV): How long does it take for a new user to complete that key action? Your goal should be to constantly shrink this time.
- Early Churn: How many users bail on the product within the first 7 or 14 days? High early churn is a massive red flag that your onboarding is broken.
Focusing on these metrics forces you to prioritize customer success right from the get-go. While the average annual churn rate for SaaS can be 5-7%, top-tier companies achieve Net Revenue Retention (NRR) rates of 120-125%. That means they grow revenue from existing customers alone.
You can learn more about how elite performers prioritize customer retention from the very beginning. When launching your SaaS, a smooth onboarding flow is your best tool for building a loyal, growing customer base.
Got Questions About Your SaaS Launch? Let's Get Them Answered
Even with the best playbook in hand, you're going to have questions. It's just part of the process. I've been there, and I've seen countless other remote founders hit the same roadblocks. Let’s tackle some of the most common hurdles you might be facing so you can move forward with a bit more clarity.
What's the Real Cost to Launch a SaaS Product?
This is the big one, isn't it? While everyone says "it depends," we can actually put some real numbers on it. If you're scrappy and go the no-code route with tools like Bubble, you can genuinely get an MVP out the door for under $1,000.
On the other hand, if you need to hire freelance developers for a custom build, you're looking at a range of $10,000 to $50,000+. My advice? Start as lean as humanly possible. Your first investment should be your time talking to potential customers, not your money on code nobody has asked for. As a remote founder, your naturally low overhead is your superpower here.
How Long Should It Take to Build and Launch an MVP?
Try to keep your timeline tight—aim for 2-4 months from idea to your first user. If you go much longer than that, you're probably over-engineering it. The whole point of an MVP is to learn, and you can't learn without launching.
Set a firm launch date. Seriously, put it on the calendar. This pressure is a good thing; it forces you to be ruthless about what really needs to be in V1 to solve that one core problem for your ideal customer.
With no-code tools, you might even shrink that timeline down to just a few weeks. The faster you get feedback, the better your chances of success.
What are the Biggest Mistakes First-Time Founders Make?
I see the same painful, avoidable mistakes over and over. Here are the top three culprits:
- Building in a vacuum: This is the cardinal sin. Founders get an idea, lock themselves away for six months, and build something nobody actually wants or is willing to pay for.
- Catching "feature-itis": They cram way too much into the MVP. This delays the launch, blows the budget, and makes the product confusing for early users.
- Never actually talking to customers: They fall in love with their solution instead of the customer's problem. They're often shocked when the launch day is met with crickets.
The antidote to all of these is simple, but not easy: make customer conversations the heartbeat of your entire process, starting from day one.
Do I Absolutely Need a Technical Co-Founder?
Not anymore. The game has changed. Thanks to incredibly powerful no-code and low-code platforms, a non-technical founder can absolutely build and launch a legitimate product. These tools are perfect for getting your MVP into the market and proving your concept works.
Now, if your big idea is based on some deep, proprietary tech, then yes, you'll eventually need a technical partner or to start hiring developers. But you can get so far on your own first. Proving the business case makes finding that technical talent a whole lot easier down the road.
Ready to build your own remote-first business? At Remotepreneur, we provide the playbooks, case studies, and resources you need to turn your idea into reality. Explore real founder stories and get actionable guides at https://www.remotepreneur.co.